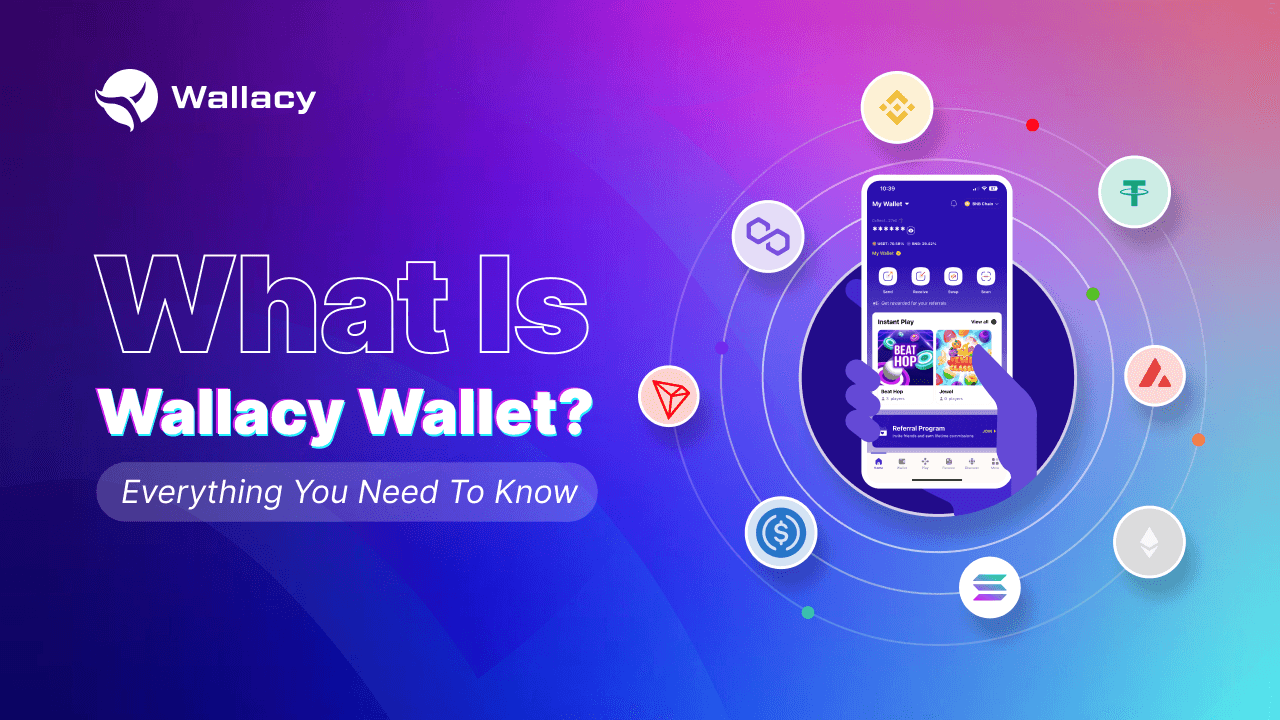
Are you seeking a reliable and secure way to manage your crypto assets? If so, you are in luck, there are many different wallets available on the market for you to choose from these days. Each offers certain benefits and features; however, there are a few options that are, admittedly, more dominant! In this article, let’s take a look at Wallacy wallet to see what makes it stand out from the others.
Monday, May 08, 2023
These days, you are in luck since there are countless different crypto wallets to choose from. However, the abundance of choices can make you confused to determine what is the ideal one.
As the crypto world is moving so fast, it is crucial for you to consider carefully to avoid falling into dangerous scams. When it comes to that, Wallacy stands out as a hybrid crypto wallet that can cater your needs.
Wednesday, Apr 26, 2023
The internet has become an integral aspect of our daily lives, utilized for various purposes such as work, leisure, and communication. World Wide Web has had a significant impact on society, revolutionizing the way we share and access information, creating new prospects for education and business, and bringing people together from diverse backgrounds. In that world, digital assets have become the new norm and crypto wallets like Wallacy are considered an essential tool for managing your investments.
Yes, Wallacy is a non-custodial wallet, also known as a self-custody wallet. This means that you have full control over your 12-word mnemonics (secret recovery phrase) and private keys. No one else can access or tamper with your wallet without your permission.
Have you ever heard this saying: “Not your keys, not your crypto”? With Wallacy, you’re the sole owner of your keys and your funds, so we advise you to establish a set of security measures to safeguard your assets and take full advantage of a non-custodial wallet.
Monday, Apr 17, 2023
This question gets asked quite a lot. The answer is “No”, Wallacy, and even other decentralized wallets, don’t hold your funds!
So why? An interesting truth is that your funds are completely not on the wallet app. They are actually located on the blockchain network itself. The app only enables you to access a wallet address and conduct transactions out of it by using your secret Recovery Phrase. In other words, Wallacy is just a bridge to the blockchain that it is connecting to.
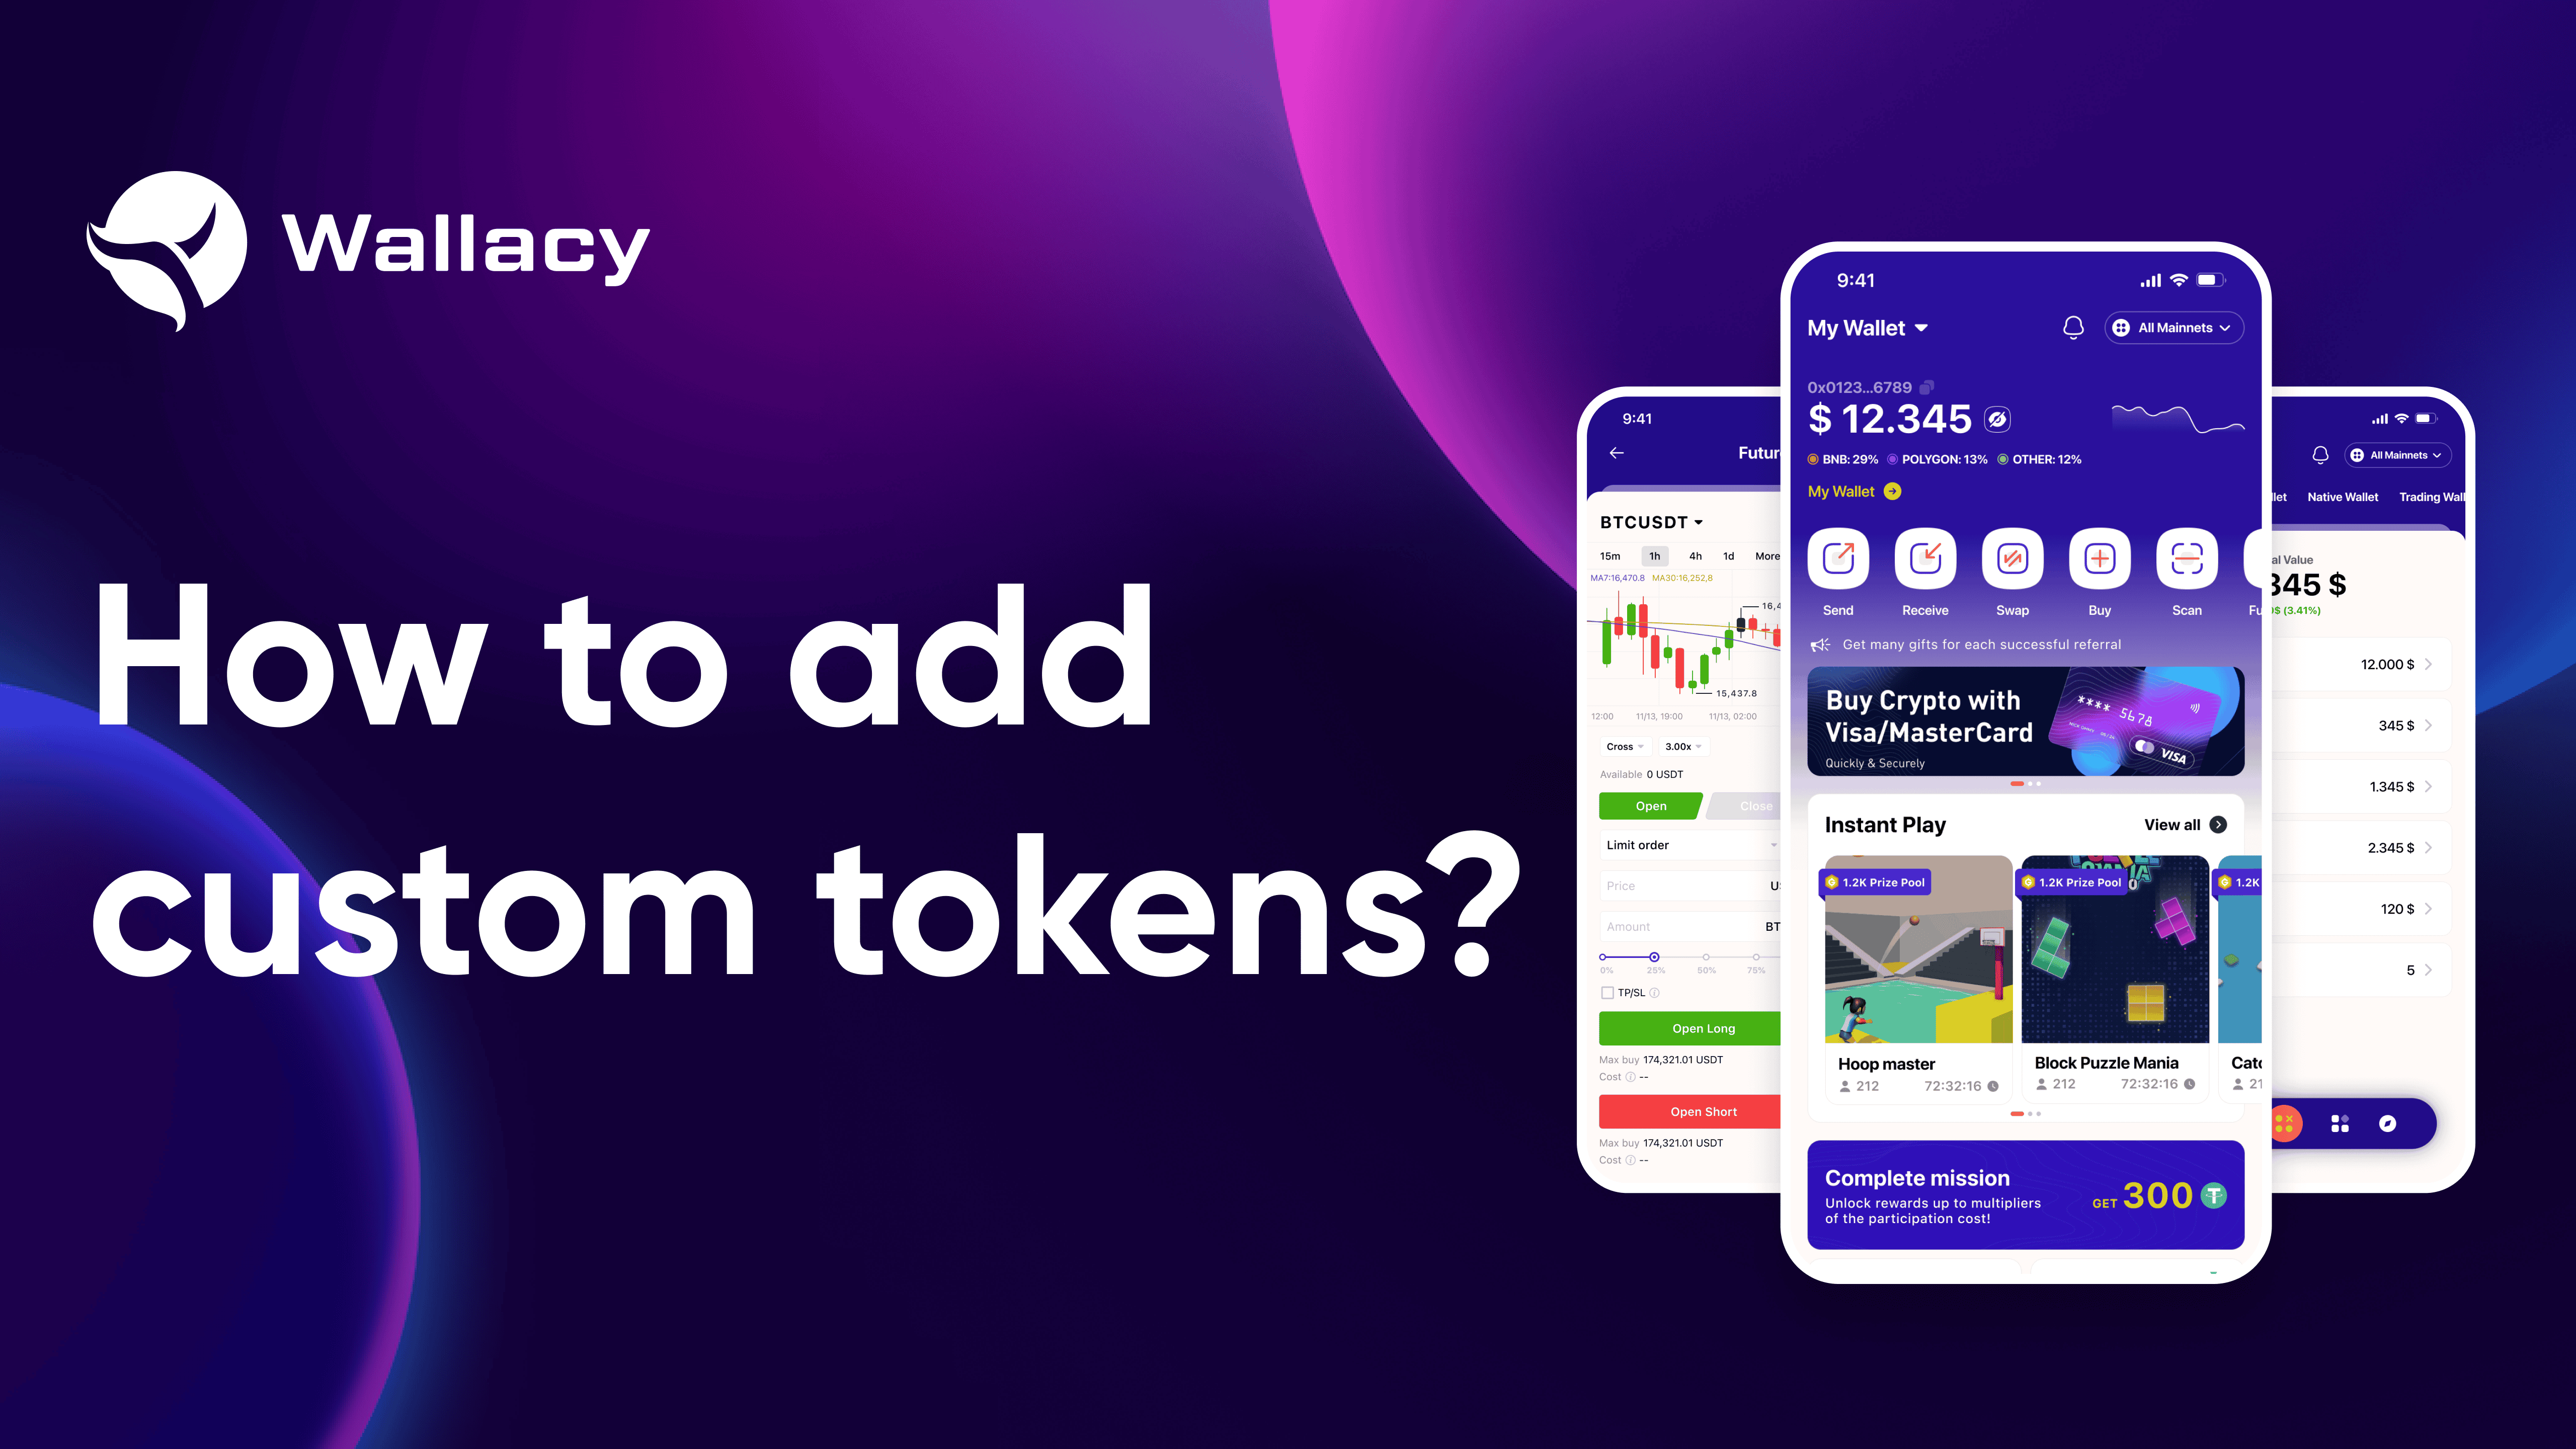
Step 1: Select Wallet at the menu bar, which will take you to your wallet information screen.
Step 2: Select your desired network (default is BNB chain) in the top right corner, then select Defi Wallet. Click Add a Token to add the token to the wallet. Select the default token available or fill in the search bar on the screen.
Step 3.1: If the token is not among the most commonly used ones, the search function may fail to retrieve it.
Step 1: Select the Receive button on the screen
Step 2: Choose the asset you want to receive from another wallet by token name or contract address. Example: BUSD.
Step 3.1: Copy and send that wallet address to the sender to execute the receive command. Step 3.2: (Switch to the Request tab) You can also generate a QR code containing your Wallacy wallet address and the amount of tokens you want to receive, then share it with the sender.
Step 1: Tap the Send button on the home screen.
Step 2: Choose the asset that you want to send. For example: USDT Step 3: Fill in the receive wallet address and the amount of token you want to send.
You can save the wallet address to Address Book in order to use it later, or you can scan QR code to get the wallet address from others. Step 4: Now you’re presented with the estimated gas fees of your transaction, which you can also adjust.
Step 1: Enter Swap mode by clicking the Swap icon on the home screen.
Step 2: Swap between two different coins. Choose available coins from the menu.
Step 3: Input an amount for a coin and view transaction data. Note that the first coin amount entered will be the exact amount, and the other will be estimated. The information below provides additional details about each transaction (slippage, price impact, transaction fee).
Think of your public key as your “deposit address,” and your private key as your “password” to access and manage your digital assets. Keeping your private key safe is crucial to protecting your funds from theft or loss.
Public key This is a long string of random, unpredictable characters, and it is publically visible on the blockchain network. Anyone can send you cryptocurrency by using this public key.
The exact format of a public key can vary depending on the cryptocurrency and the type of wallet you’re using, but they are usually long, complex strings of characters that are unique to each user.
